Address: 2208 W Burbank Blvd, Burbank, CA 91506

Mon - Fri: 7:45 Am - 5:30 Pm
Sat: 8:00 Am - 2:30 Pm
Sun: Closed
We'll Be Closed This Sunday – April 20th

Address: 2208 W Burbank Blvd, Burbank, CA 91506

Mon - Fri: 7:45 Am - 5:30 Pm
Sat: 8:00 Am - 2:30 Pm
Sun: Closed
Just like the road wears down tires, car dashboards endure daily use. Sun exposure, temperature changes, and frequent handling can lead to fading, cracks, and even affect electronic components. Repairing your dashboard preserves your car’s value and ensures a safe, comfortable ride. Let’s explore essential repair tips and techniques!

Before you start repairing your car dashboard, let’s discuss the key things to consider, regardless of the type of damage.
Once you’ve made your repairs, choose the right materials to match your dashboard’s original look. Use quality finishes that protect against sunlight and wear. Polish it up nicely so it looks as good as new.
Whether your dashboard has cracks, scratches, fading, or electronic issues, understanding these damages can help you choose the best repair approach. From physical to structural problems, we’ll explore the different types of dashboard damage that can arise and how to address them effectively.
Let’s go over some signs that your instrument cluster is failing and why it might be happening:
Dim or Flickering Lights: If the lights on your dashboard are dim or flickering, it’s likely an issue with the bulbs or electrical connections.
Total Cluster Failure: Your whole instrument cluster might stop working, either temporarily or permanently.
Most of these problems are due to faulty connections, burnt-out bulbs, issues with the circuit board, or software glitches. Here’s what you can do:
Power and Ground Check: Make sure the instrument cluster is getting power and check the ground wire for problems.
Dealing with visual and structural integrity problems on your car’s dashboard can be frustrating and affect its overall appearance. To effectively address these issues, it’s important to understand what causes them in the first place. Here are the primary factors contributing to dashboard damage:
Age and Wear: Like any part of your vehicle, the dashboard undergoes wear and tear with age. As materials age, they become less resilient and more susceptible to developing cracks.
Though you can easily deal with minor cracks or fading using dashboard repair kits available in the market, you will need professional repair solutions for extensive or worsening cracks.
Applying Finishing Touches: The dashboard should be sanded to smooth out imperfections. This step is critical for dashboards with wood veneer and quality material finish. Using the right materials and veneers, if applicable, is essential to enhance the dashboard’s aesthetic and durability.
This is all about taking good care of your dashboard. You’ll want to use products that not only restore its color and flexibility but also shield it from sun damage, heat, and everyday wear. Look for treatments with strong UV blockers to prevent cracks and fading. They should also contain conditioning agents to keep your dashboard soft and well-nourished.

Reinstalling a dashboard can be tricky, especially in classic car restorations. Here’s how to tackle common problems:
Squeaks and Rattles: Use felt tape where the dashboard meets the chassis to prevent any annoying noises.
Start with the alignment check. Pay attention to how the dashboard aligns with other interior parts like the glove box and instrument panel to ensure it looks and works right. Take a close look for any loose cables or parts that aren’t quite right before considering the job done.
Let’s break down some of the most critical warning lights you might see on your car’s dashboard and what they mean:
Oil Pressure Warning Light: If this light comes on, it could mean your engine is low on oil, or the oil pump isn’t circulating enough fluid. Check your oil level and add more if necessary. If the problem persists, have a mechanic inspect your vehicle.
Engine Temperature Warning Light: If your engine is overheating, this light will come on. Stop your car, let it cool down, and check the coolant level. If needed, add coolant or seek professional help.
Traction Control Light: When this light is on, it means your car’s traction control system is working to prevent wheel spin on slippery surfaces. Drive cautiously in slippery conditions.
Tire Pressure Warning Light: This light indicates that one or more tires have low or high pressure. Stop as soon as possible to adjust tire pressure accordingly.
Transmission Temperature Warning Light: If your transmission overheats, pull over safely and turn off the vehicle. Wait for it to cool down before driving again or call for assistance.
Anti-lock Braking System (ABS) Light: A problem with your ABS system triggers this light. Have a mechanic diagnose and repair it promptly.
Traction Control Malfunction Light: This indicates an issue with your vehicle’s traction control system. Get it checked to ensure safe driving in all conditions.
Engine Warning Light: This light can signal various issues like a loose gas cap, low oil pressure, or overheating. Stop driving immediately and have your car inspected and repaired.
Battery Alert Light: Issues with your battery or charging system trigger this light. Get it checked soon to avoid starting issues.
Brake Warning Light: This light could mean your parking brake is engaged or there’s a problem with your braking system. Check your parking brake first and then inspect your brakes carefully.
When it comes to your dashboard, repairing and maintaining it is crucial to keep your car in top shape. Whether you’re fixing minor issues or considering a full restoration, getting help from the pros is smart. Stay on top of dashboard damage, and your car will look and feel great.
This can be due to loose connections, a failing power supply, or issues with the display unit itself. Check the connections behind the dashboard and ensure they are secure. If the problem persists, professional inspection might be required to diagnose and fix the underlying issue.
Try restarting your vehicle first. If that doesn’t work, locate the reset button specific to your infotainment system. Press and hold it for several seconds to force a reboot. If the screen remains unresponsive, consult your vehicle’s manual or contact a technician for further assistance.
Look for a reset button on the dashboard or access the settings menu on the screen if possible. Press and hold the reset button or follow the on-screen instructions to initiate a system reset. This can often resolve software glitches or unresponsiveness in the infotainment system.
A short circuit or overload often causes fuse blows in the dashboard wiring. Start by identifying which fuse has blown and inspect the corresponding wiring for signs of damage, such as exposed wires or melted insulation. Repair any damaged wiring and replace the fuse with one of the correct rating. If the fuse continues to blow, it may indicate a deeper electrical issue that requires professional diagnosis and repair.
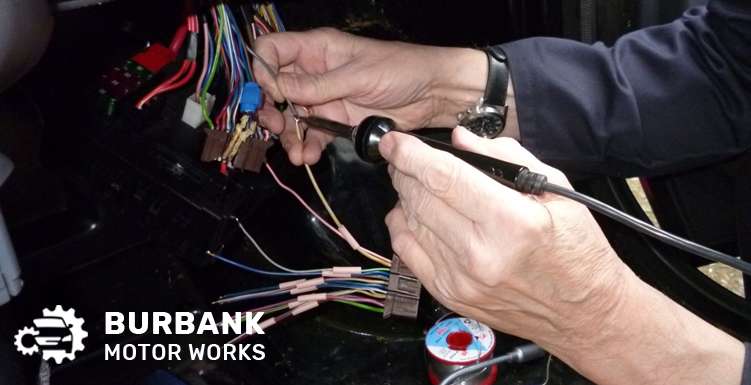
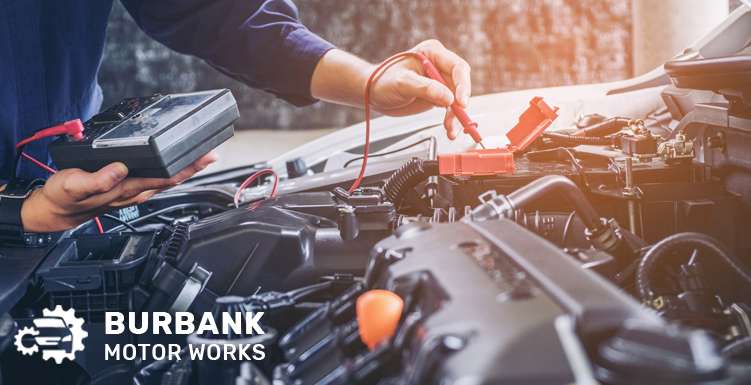
Diagnosing dashboard wiring issues involves checking for continuity, inspecting for physical damage, and testing connections with a multimeter. Look for signs of frayed wires, corrosion, or loose connections. Use wiring diagrams from your vehicle’s manual to guide you through the process and verify proper routing and connections.
Dashboard error codes or messages indicate problems with various systems, such as engine issues, sensor malfunctions, or electrical faults. Use a diagnostic tool to retrieve the specific error code. Refer to your vehicle’s manual or online resources to interpret the code’s meaning.
A non-functional tachometer could be caused by a faulty gauge, sensor, or wiring issue. Start by checking the tachometer fuse to ensure it’s not blown. Next, inspect the wiring and connectors leading to the tachometer for damage or loose connections.
To fix stuck or broken dashboard air vents, access the vent assembly behind the panel, inspect for obstructions or damage, lubricate stiff hinges, replace broken parts, and securely reassemble for proper function.
Loose or rattling dashboard panels signal insecure fasteners. Apply gentle pressure to locate rattling spots. Tighten screws, replace broken clips, and use padding to reduce noise. Reinstall panels securely to prevent recurrence.
Call us for booking an early appointment and get all your car related problems solved by our experts.